
Being a homeowner comes with a lot of responsibility. Chief among them is making sure your house is safe and well-maintained. Unfortunately, this can partly be out of your control at times. The presence of an underground oil tank on your property is never something to celebrate, but you can handle it quickly and efficiently as long as you know what you need to do. Environmental Works has come up with this homeowner’s guide to underground oil tank removal because we believe you should be as informed as possible on the subject before the work begins. We’ll take you through what you need to know so you can be ready when the time comes to remove the tank.
What Is an Underground Oil Tank?
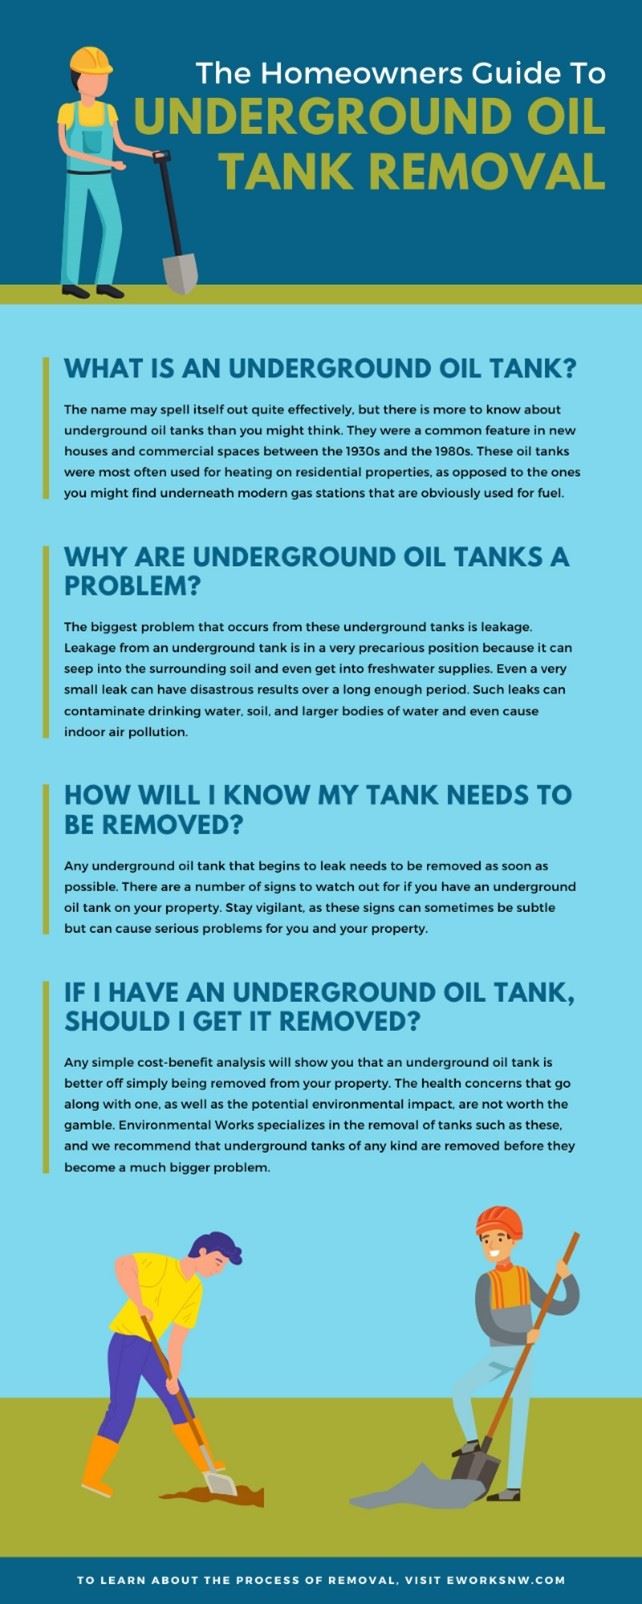
The name may spell itself out quite effectively, but there is more to know about underground oil tanks than you might think. They were a common feature in new houses and commercial spaces between the 1930s and the 1980s. These oil tanks were most often used for heating on residential properties, as opposed to the ones you might find underneath modern gas stations that are obviously used for fuel.
Why Are Underground Oil Tanks a Problem?
The biggest problem that occurs from these underground tanks is leakage. Leakage from an underground tank is a problem because it can seep into the surrounding soil and even get into freshwater supplies. Even a very small leak can have disastrous results over a long enough period. Such leaks can contaminate drinking water, soil, and larger bodies of water and even cause indoor air pollution.
The reason that underground oil tanks tend to leak is because of the material they are made of. Back in the day, these tanks were made of bare steel. Bare steel has the unfortunate side effect of corroding over time when exposed to the soil that it was sunk into. As the tank corrodes, holes form on the surface of the tank and allow the contents to spill out.
How Will I Know My Tank Needs To Be Removed?
Many underground oil tanks that leak need to be removed as soon as possible. There are a number of signs to watch out for if you have an underground oil tank on your property. Stay vigilant, as these signs can sometimes be subtle but can cause serious problems for you and your property.
- If you notice that your fuel consumption increases despite the fact that the weather hasn’t changed drastically, it may indicate your tank is leaking.
- Closely watch the area of ground above your tank. If the grass and vegetation begin to die in that specific area, you may have a problem.
- If there is a shiny, oily sheen on any water around the tank, such as the water in your sump pump, you could have a leaking tank.
- If you smell an odor that smells like heating oil throughout your house, you should definitely call an expert right away.
- If your water changes hue, taste, or smell in any way, your tank may be leaking into your water supply. This is another problem that you should solve immediately.
If I Have an Underground Oil Tank, Should I Get It Removed?
Sometimes an underground oil tank may not be worth the gamble. Environmental Works specializes in the removal of tanks such as these, and we recommend that underground removal is considered before they become a much bigger problem.
What Does the Process of Removing an Underground Oil Tank Entail?
The removal of an underground oil tank requires careful work and measurements in order to be done correctly. We’ll walk you through the steps in order so you can know what to expect for your tank removal procedure.
Step 1: Closing the Tank
Before anything can be done about the tank itself, it must be closed completely and taken out of service. Closing a tank includes removing any remaining oil that may still be inside of it, as well as removing any oil from connected pipelines. The tank is then thoroughly cleaned to make sure no more oil is left, and there is nothing to create any harmful vapors. If your tank is quite old, the chances are good that it was already closed, but you can never be too careful in this regard.
Step 2: Beginning the Dig
Once the tank is closed, cleaned, and checked to make sure there aren’t any obvious signs of leaking, the digging and removal can begin. Heavy machinery will be brought in, and the soil above the tank will be dug up and moved out of the way. When enough topsoil is removed, a panel will be cut in the tank so that heavy equipment can lift the tank from the ground.
Step 3: Soil Evaluation
Even if the tank doesn’t appear to show any obvious signs of leaking, part of the process will still be to evaluate
samples of the soil for any kind of contamination. This is a crucial step because, even with the tank removed, polluted soil can still cause harm to you, your family, your property, and even community water sources.
Step 4: Finishing Up
Once the soil has been evaluated and has been signed off as not contaminated, all that’s left to do is replace the hole dug from the soil and patch it up with new grass and foliage. The tank itself will be hauled away to be disposed of properly.
We hope this homeowner’s guide to underground oil tank removal has made thinking about the project a lot less stressful. Environmental Works only employs highly trained professionals to handle underground tank removal procedures because we want you to feel comfortable that the job will get done right the first time. When you need underground storage tank removal contractors, we hope you’ll think of Environmental Works first; we’ll be happy to assist you and make the removal process as painless as possible.